Showing posts with label roof extension. Show all posts

Friday, 25 September 2015

How I made removable eves

One of the biggest problems in designing tiny houses is squeezing as much width possible out of 8 1/2 feet.  If you put your walls at 8 1/2 feet then you have no overhang.  If you put your roof line at 8 1/2 feet you are giving up precious room width, limiting your interior options.  My solution was to have the roof overhang removable and here is how I did it.

This solution requires welding and adds 40 to 60 hours to the house build.  Feel free to use my design for your own personal house, this design may not be used for commercial purposes without my written consent.

Lets begin with how I build the brackets.

The piece on the left (with the clamp attached) is made up of a piece of 1/8" x 2" flat bar steel.  Welded on to that is two threaded rod couplers which have a piece of threaded rod temporarily installed.  This bracket has 4 - 5 holes drilled in it and gets attached to the roof joist.

The bracket on the right has a piece of steel tubing welded to it. This allows the threaded rod to move as it is being placed and tightened with a regular nut.  Drill the same 4-5 holes

In the picture the piece of wood is acting like a jig so that everything lines up when it is installed on the house.  The gap between the two brackets is for the fascia board.  Each pair was numbered to keep them together because it is hard to get the position and angle the same from piece to piece.  That is why there is a number 2 on the rafter in the previous picture where I'm marking the back of the fascia.

Threaded rod comes in 10' lengths and was cut to length.  When cutting it put few nuts on it, when you take the nuts off it will clean the treads up.  They are removable and during transport, you can see
the holes in the fascia board in some of the pictures.  I ended up using bolts for the bottom holes to speed up installation and removal.


The dis-assembly`process involves removing the screws the metal roof on the overhand and loosening the first row of screws on the main roof (metal roofing is very stiff).  Remove the metal roof on the over hang.

The extensions are in 8' lengths so remove the screws from where the plywood overlaps the next rafter extension.  In the picture bellow is during the initial build and the plywood has not been nailed to the rafter extension yet.  Remove the nuts from the top threaded rod and bottom bolts.  Pull off the 8' section of eaves.  That is it, takes around 4 hours, maybe less with the bolts now. You end up with the 8' eaves sections, the metal roof pieces and the nuts and bolts, not too many pieces.

The metal roofing extensions slide 6" to 8" under the main roof.  No leak problems (heavy rain/wind) even if it did the water would still be outside the building envelop.  I used an Ice and water shield on the main roof that goes up a few feet as a secondary layer.  This is protected by a foot of aluminum flashing so it does get damaged when the roof is install/removed.

Send me an email if you have any questions and I'll update this post to clarify.

Friday, 10 April 2015

Exterior work

Now that winter is coming to an end the exterior work is starting up.  There is a little bit of siding to finish, painting the trim and installing the removable eaves.

First the eaves had to be primed and painted


Next the second part of the bracket was attached to the house.  The painted rafter extensions where then attached and the plywood decking nailed on.  Finally the roofing was screwed down.

Waiting for the right color screws.

Thursday, 29 May 2014

The detachable eaves

I just finished installing the brackets for the removable eaves.  The next step was to mark the fascia and drill holes.  I ruined the first set of fascia boards and on the next set I decided to mark them in place.

It worked like a charm!  I only had to slightly correct a few holes.  Next stop insulating the roof!


Sunday, 27 April 2014

So its been two months...


The tiny house has been on the back burner for the last couple of months.  I decided to focus on school and pretty much everything else was put on the back burner.  The last two weeks I've been off so I've put a lot more time into the house and I have a few tasks nearing completion so there should be some big changes in the next few weeks.

I have still accomplished a few things while in school.  The bay window is almost done.  It have wiring, sheathing, insulation and vapour barrier done.  With wiring passing through the bay window I have also been able to finish the wiring and insulation on the last wall.

The vapour barrier on the north wall is mostly done.  I just have to pass a few more wires thru it before I can finish.

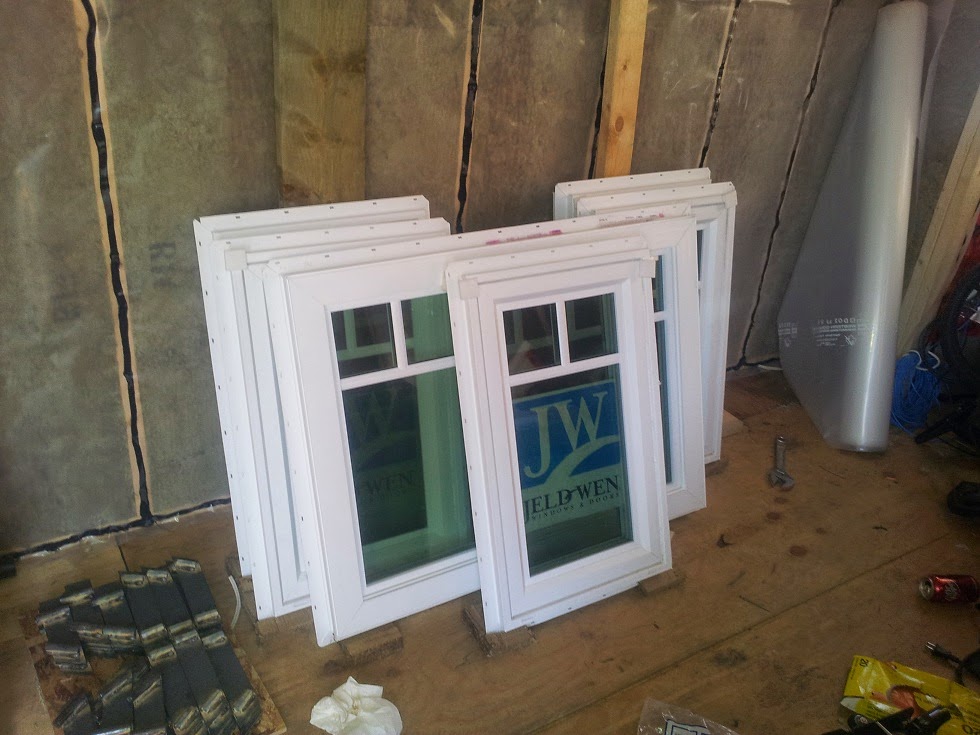
The windows have mostly arrived.  There was no packing during shipping so some of the screens where damages.  I have to make another trip to the states to pick up the last 3.

I found a store locally that has roofing for the same price as in the states.  They have more choice of colours so once that is sorted out then I'll be ordering it.  As a bonus they will cut to length for me.

I've been busy the last week fabricating the brackets for the roof extensions.  I have spent about 16 hours making the 40 brackets but I think the end result will be worth it.


I've been super geeking out over the performance of my solar setup.  It has been producing enough power to keep the welder going without having to run the generator.  At one point the panels where producing over 30A even though they are only rated to produce 22A.  :)

Expenses to date: $17,014